DIY: Getting started with the basics of preparing surfaces for tiling
Getting started the right way is important to ensure your tiling project ends up looking like a professional job. Start with this tiling preparation guide.
Every surface, whether in a new build or an older building, needs some form of preparation before you can start tiling. Use this handy guide to set you in the right direction.
An unsound surface is the cause of most tiling problems. Preparation can make the difference between a lasting finish and one that gives ongoing troubles, potentially causing tile failure, cracking and the need for retiling later on. you need a stable, level surface to ensure the end result looks tidy and professional: the lines should be straight and tiles should all sit evenly on the substrate, even if they are rustic with an irregular surface or shape. Grout lines should also be consistent in thickness and depth. All of these elements can be affected by the quality of the surface underneath.
1. Ensure the surface is clean
Before starting any tiling project ensure that the substrate to be tiled is correctly prepared and is:
- Dust free, clean and dry. Ideally vacuum the area;
- Free from loose material;
- Free from contaminants such as grease, oil, paint, varnish, adhesive residue such as bitumen, or any other coating that will prevent the primer from adhering to the substrate;
- Sufficiently level;
- Strong and rigid enough to support the tiles, adhesive and grout.
- If there are patches of oil, paint or other residues that could prevent the primer from adhering to the substrate, you may need to roughen the surface either with sand paper or using an angel grinder.
- Highly polished concrete might need extra work to provide some surface grip: you can scuff the surface using an angle grinder with a diamond grinding wheel.
2. Apply a tiling primer
Before tiling, waterproofing or levelling, apply a tiling primer such as Arc Tiler’s Primer or Arc Tiler’s Primer Plus to ensure there’s good adhesion to the substrate. This is an essential step if you plan to add a waterproofing membrane - without the primer, the membrane will just peel off the surface.
TIP: Remember to read the package instructions as some substrates require different dilution ratios.
3. Level floors with leveling compound
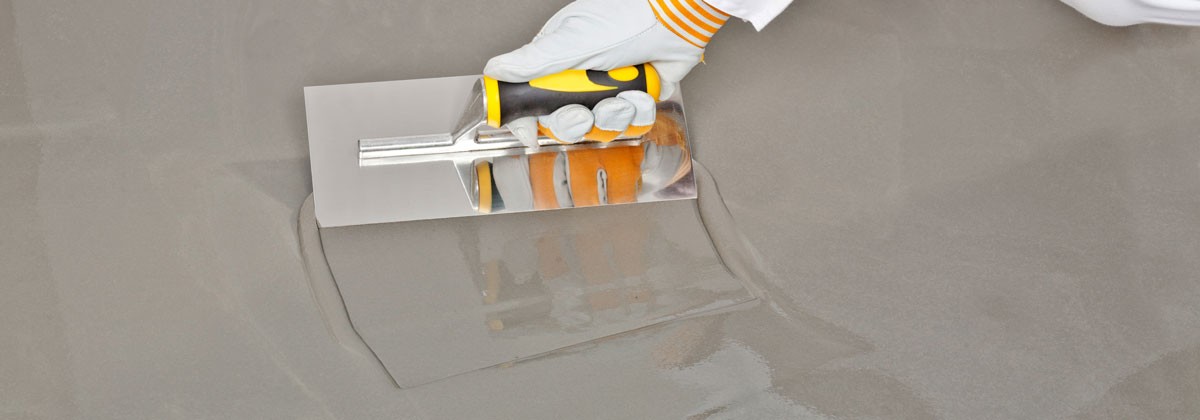
Use a levelling compound to tile on concrete, screed, existing tiles and even wooden floors. For underfloor heating choose a levelling compound that is rated for underfloor heating, such as Arc High Build Levelling Compound.
TIP: Don’t assume the floor is level, even if it looks level to you.
4. Consider if a decoupling membrane is needed
If the substrate is cracked or likely to move over time (such as a timber floor), you may need a decoupling membrane such as the Interlinx 3GG. This is a waterproof and crack-resistant membrane that protects the tiles from movement of the substrate.
5. Preparing to tile on wooden floors
Wooden floors tend to flex (called deflection) which can cause grout to loosen and tiles to crack. Before you do anything else, ensure that all the floorboards are securely attached and there are no loose or broken boards. Depending on the type of timber floor, you will need to first overlay the floor with either a decoupling membrane or Magna board to ensure additional stability. Use a flexible tile adhesive to further prevent tiles from lifting and cracking.
In the same category
- DIY: How to tank a wet room and prevent leaks from the get-go
- Buyer's guide to underfloor heating: your cosy home starts here
- How to measure walls and floors correctly for tiles and wood floors
- DIY: How to prepare different types of walls for tiling
- DIY: How to prepare different types of floors for tiling


